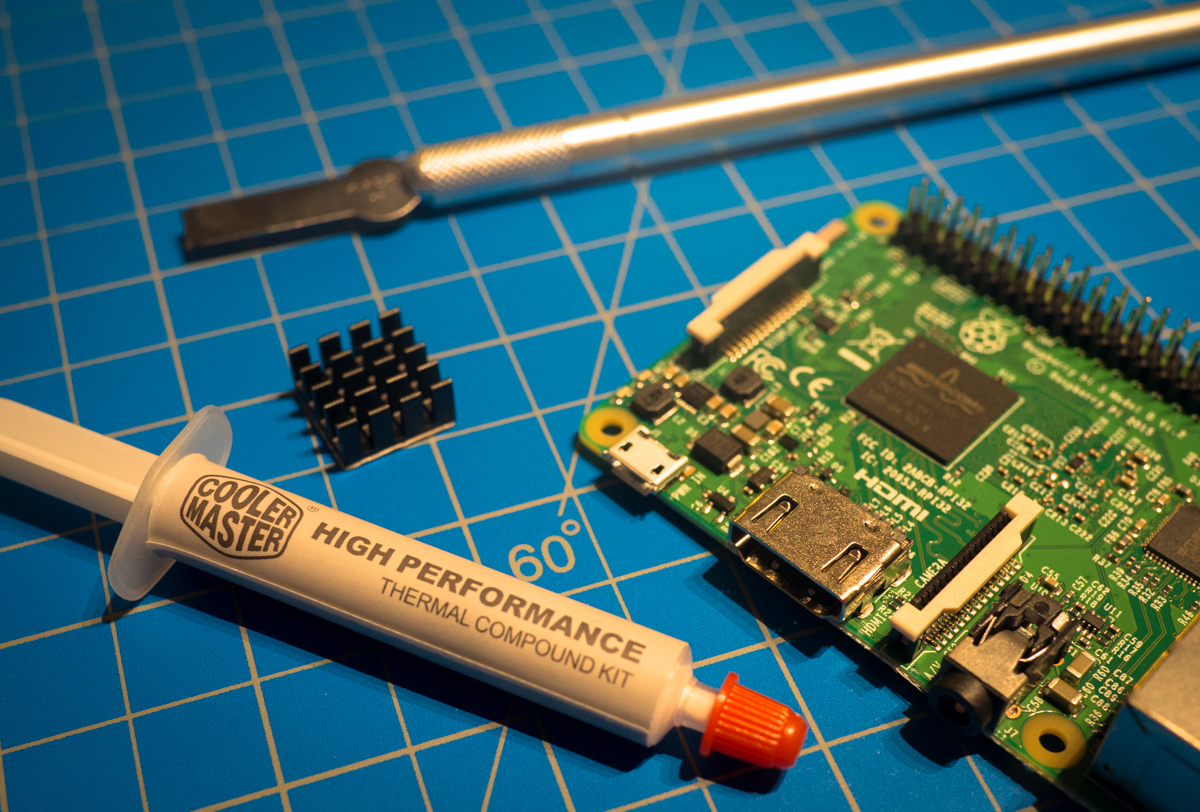
I’m currently working on building a Kubernetes cluster out of a batch of Raspberry Pi 3 Bs and B+s. More on that, though, in a later post once I get it working. This post is entirely about me getting sidetracked after reading a few reports of the Raspberry Pi 3 Model B getting pretty toasty under load. I had read that these newer, more powerful Pis can actually reach some considerable temperatures when stressed and that they might benefit from some aftermarket cooling.
I went off and did some research and found that for my purposes (an open air cluster), a simple aluminum heatsink on the CPU should suffice. What I didn’t know was how I should attach the heat sinks to the Pis. Many heat sinks you can purchase come with thermal tape pre-applied, but some of the reviews on Amazon implied that the tape wasn’t actually thermally conductive and that it just made things worse. So I decided to experiment with using thermal paste, just like in a full-size PC!
We’ll be exploring the thermal performance of one of my Pis under the following three configurations:
- Without any heat sink
- With a heat sink attached with thermal paste
- With a heat sink attached with thermal tape
Materials
I purchased the following supplies to conduct these experiments. 🔬
- Raspberry Pi 3 Model B
- Easycargo Aluminum + Copper Heatsinks
- Cooler Master Thermal Paste
- Adafruit Heat Sink Thermal Tape
- 91% Isopropyl Alcohol (for removing thermal paste)
Methodology
This experiment was fairly unscientific. I only tested one of my Model Bs and ignored the B+s since they are purported to have better thermal properties and I imagine the heat sink’s effect would be less dramatic.
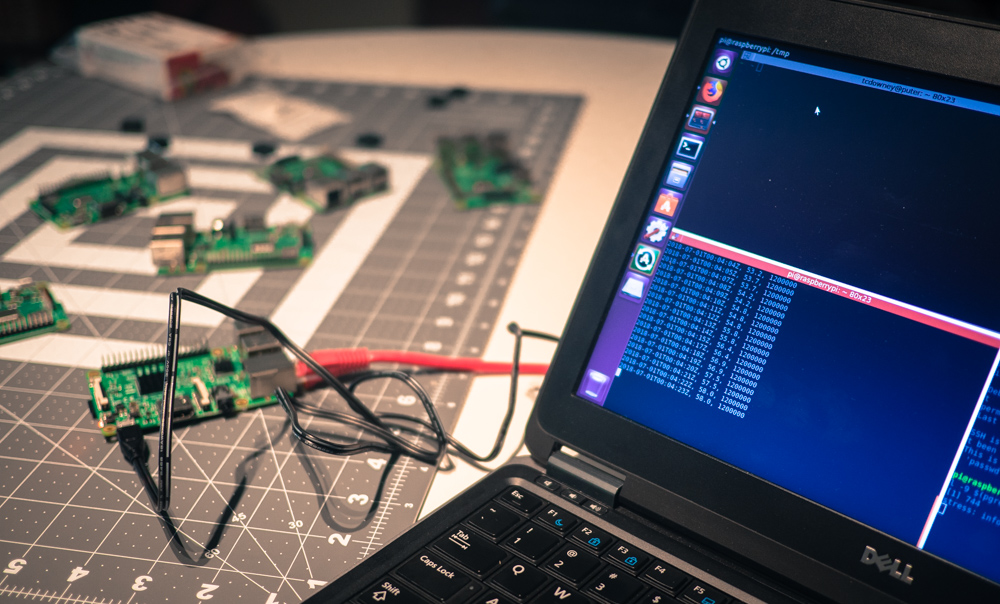
To start, I performed a clean install of Raspbian Stretch Lite on to the Pi and sshed on in two separate terminal windows.
In the first window I ran this bash script to collect fifteen minutes worth of temperature and CPU clock speed metrics and write them out to a CSV file.
./raspi-metrics.sh 900 > /tmp/cpu-temp-2018-07-01.csv
Then in the second terminal I ran the stress command to put load on all four of the Raspberry Pi 3’s cores to heat things up a bit.
(sleep 30 && stress -c 4) & (sleep 600 && kill -9 $(pgrep stress))
This resulted in 30 seconds of low CPU idling, ~9.5 minutes of heavy CPU usage using stress -c 4, and 5 minutes of cool down time after killing the stress processes.
Experiment 1 - No Heat Sink
In the first experiment I tested the Raspberry Pi as-is, without any heat sink installed.
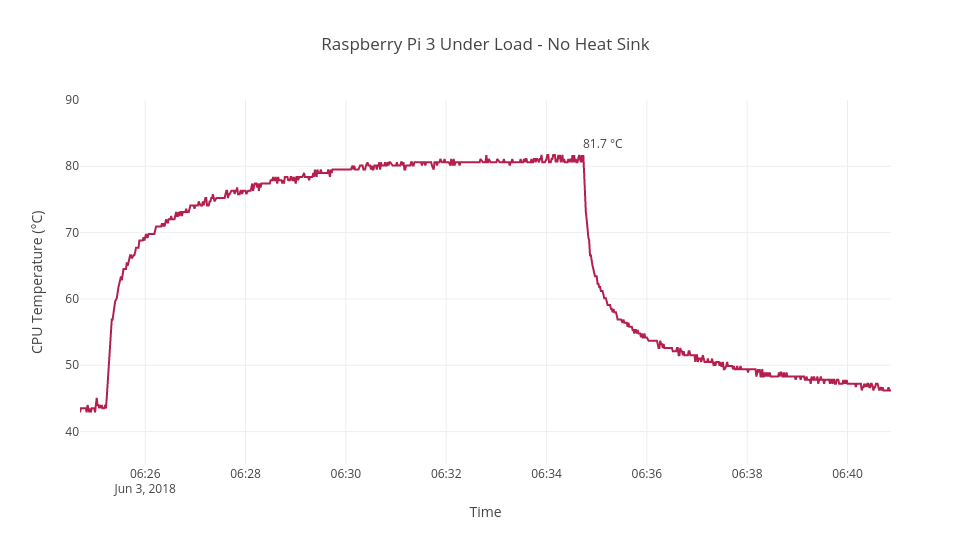
Once the stress kicks in, the temperature climbs rapidly and maxes out at ~82 degrees Celsius. The Pi is allegedly supposed to start thermally throttling at 85 °C, but I was unable to get it to reach this temperature. Maybe if I had a poorly ventilated enclosure…
Experiment 2 - Heat Sink with Thermal Paste
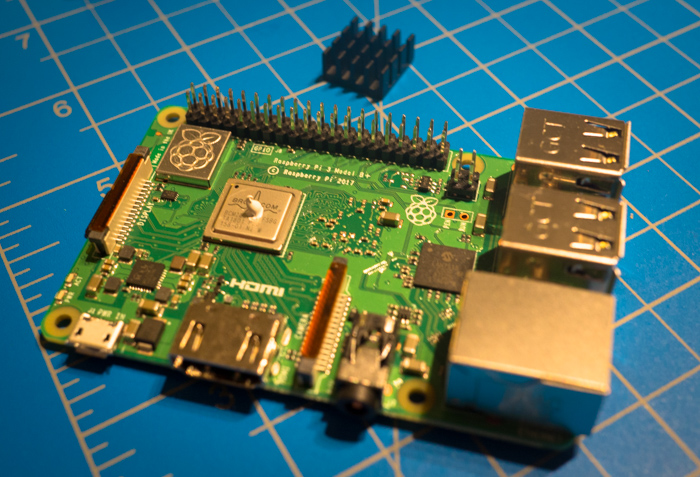
In the second experiment I tested the Raspberry Pi with an aluminum heat sink adhered with thermal paste – just like in a “real” computer! The heat sinks I ordered came with thermal tape pre-applied, but so I foolishly scraped it all off and cleaned off the remaining tape residue with some concentrated isopropyl alcohol.
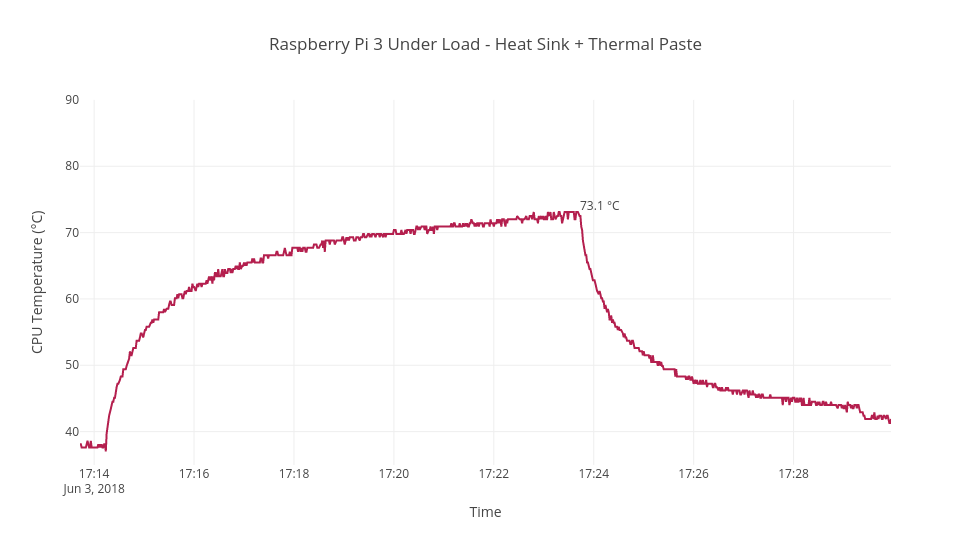
Adding the heat sink with thermal paste to the Pi improved things quite a bit! I saw a roughly 10 degree lower maximum temperature and the the Pi both took longer to reach this temperature and cooled down faster. Without active cooling, though, I wonder if it would have reached into the 80s eventually.
Unfortunately, despite being dubbed “paste”, the thermal paste was not actually as adhesive as I would have liked. The heat sinks stayed on, but they would slide around if nudged or bumped. This is fine if your Pi is housed in a proper enclosure, but I’m planning on leaving my cluster fairly exposed. In a full-sized computer, heat sinks are normally clamped or screwed into place, but these mini heat sinks are held on solely by their adhesive. I probably should have just left the thermal tape on the heat sinks and used that. So I ordered some more tape from Adafruit. 😊
Experiment 3 - Heat Sink with Thermal Tape
Nearly a month later, I had time again to redo the experiment with the thermal tape I ordered. So I removed the heat sink and thermal paste using more 91% isopropyl alcohol and tried again using the tape.

The tape clearly did not perform as well as the paste – in fact, the results were only marginally better than not using a heat sink at all! Although the temperature increased less rapidly and cooled off faster, it still approached a max temperature that was only a few degrees lower than without a heat sink. On the plus side, the tape did adhere the heat sinks to the CPU much more strongly than the paste!
Results

I did see significant thermal performance improvements when using the heat sinks along with thermal paste. Unfortunately, given my plans for the Pis I did not want to have to worry about the heat sinks getting bumped so I switched to thermal tape. The tape + heat sinks offered slight benefits over not using a heat sink at all, but probably not enough to justify the expense. Even if it isn’t actually cooler, the Pis certainly look cooler with heat sinks, so maybe they are worth it after all. ¯\_(ツ)_/¯