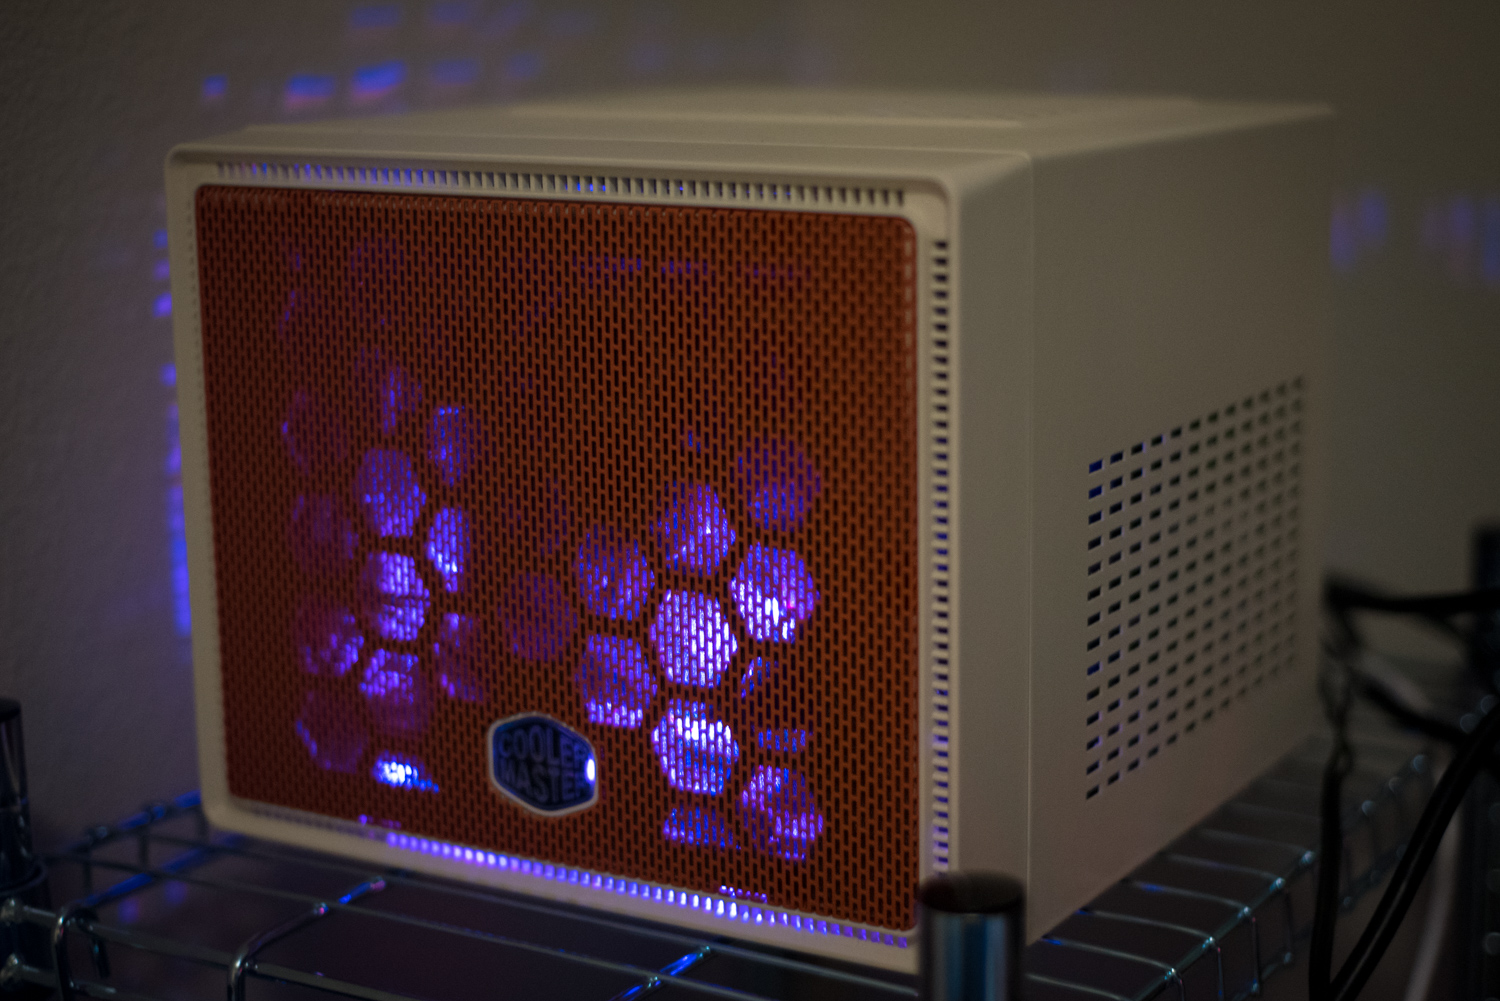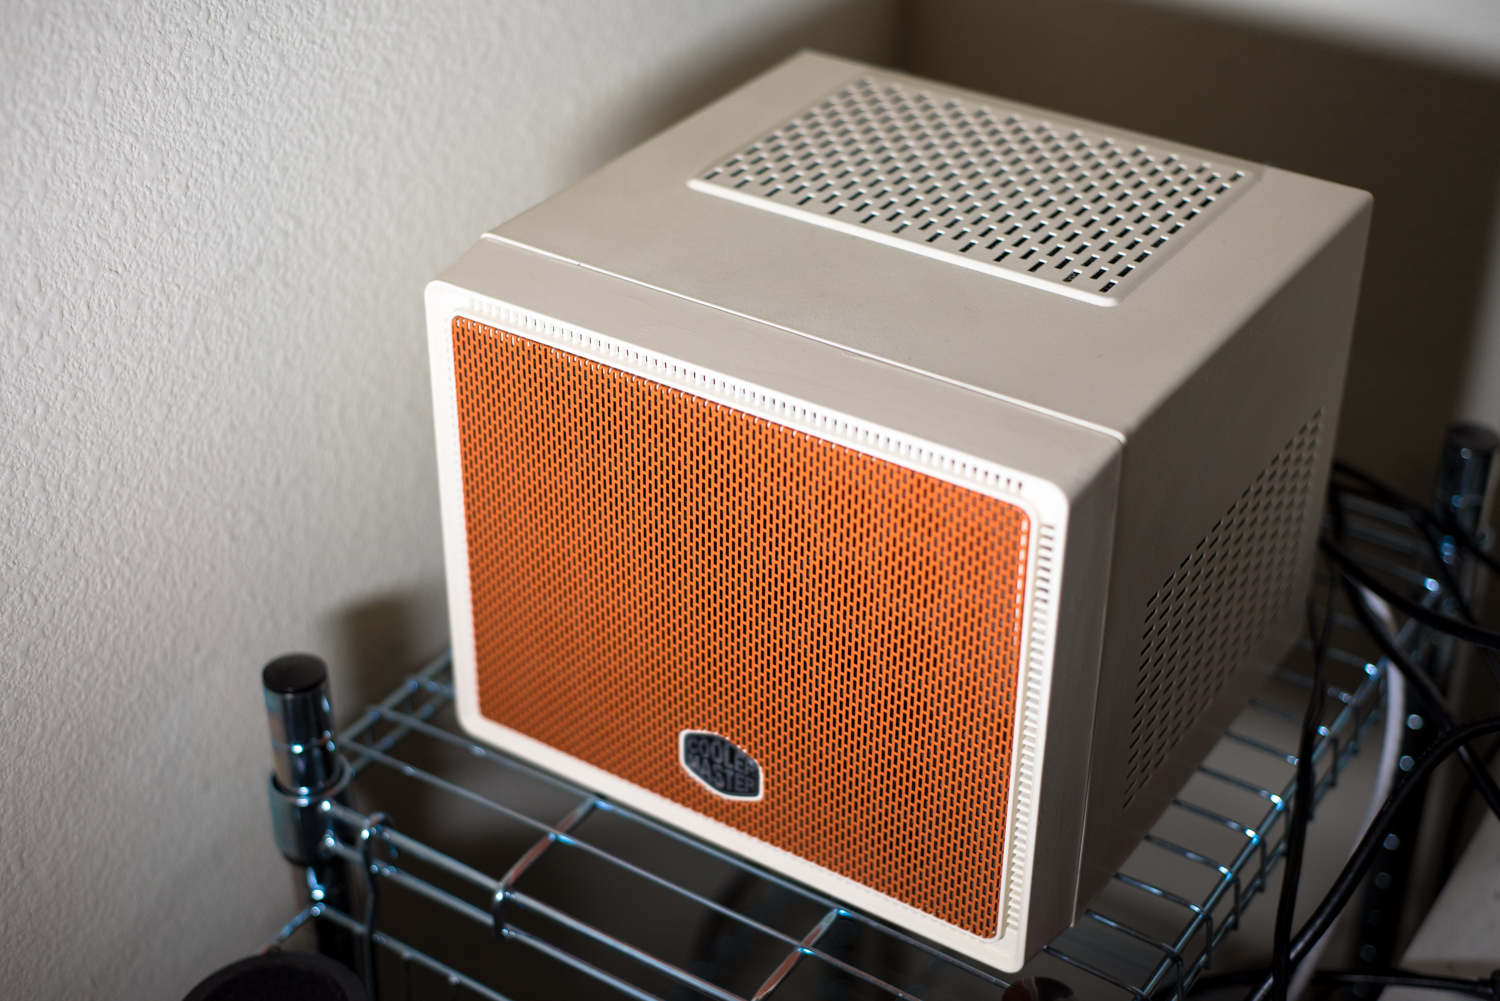
Recently I’ve found myself wanting a dedicated desktop machine just for coding. Although I do most of my development at work on iMacs and at home on an aging MacBook Air, I decided against buying another Mac – the price and performance I wanted just wasn’t there.
I already have a flashy, Windows running, RGB filled monstrosity of a gaming PC that looks kinda like a Sith holocron – or maybe just a tower out of Tron. Regardless, it is a very distracting piece of machinery and I didn’t want to fiddle about with dual booting. Instead I wanted something smaller and more discrete. A computer just for development. I decided to build a mITX computer with a bit of a retro theme. All of the parts I selected had decent compatibility with Ubuntu and could even be used in building a Kaby Lake Hackintosh if you’re so inclined.
Anyways, what follows is primarily just gonna be my parts list and some pictures I took of the case modding process, parts installation, and a few photos of the final machine.
Parts List
- Case
- Cooler Master Elite 110 mini-ITX Case
- CPU
- Intel Core i7 7700
- CPU Cooler
- Noctua NH-L9x65
- Motherboard
- ASRock Z270M-ITX/AC LGA1151/ Intel Z270 Motherboard
- RAM
- G.SKILL Ripjaws V Series 16GB (2 x 8GB) 288-Pin liR4 SDRAM liR4 3000
- Graphics Card
- EVGA Geforce 1050 Ti Single Fan
- Power Supply
- EVGA SuperNOVA 650 G3 80+ Gold Fully Modular PSU
- Boot Drive
- Samsung 850 EVO 500GB 2.5-Inch SATA III Internal SSD
- Storage Drive
- Western Digital Blue 2TB 3.5-Inch Desktop HDD
- Case Fan
- Noctua NF-F12 iPPC-2000 PWM 120mm Fan
- Case Lighting
- Autai RGB LED Light Strip with Remote Control
- Off White Spray Paint
- Rustoleum Painters Touch UltraCover Satin Heirloom White
- Orange Spray Paint
- Rustoleum Painters Touch UltraCover Satin Rustic Orange
- Primer
- Rustoleum Flat White Primer
- Clear Coat
- Rustoleum Matte Clear Enamel
I originally purchased an Intel Core i7 7700k because I got a good deal one one, but I ended up returning it because I was unable to adequately cool it without liquid cooling within the confined space of the Elite 110 case. Since I wasn’t planning on overclocking this machine it wasn’t necessary anyway. I wanted to purchase 32 GB of RAM, but prices were already much higher than I expected due to cryptocurrency miners.
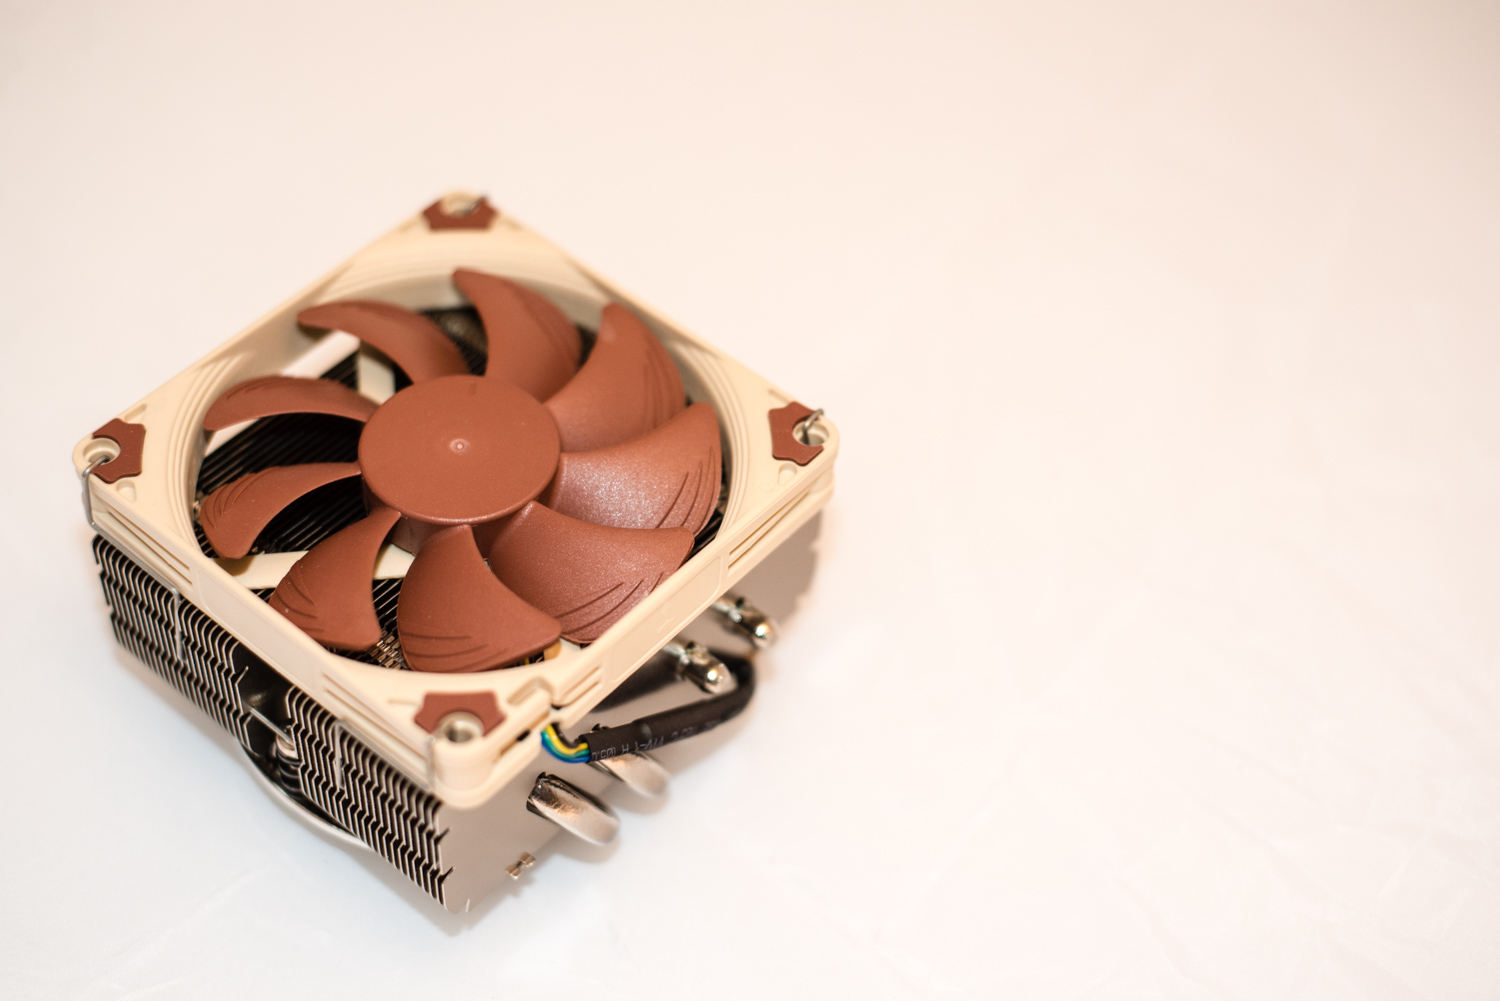
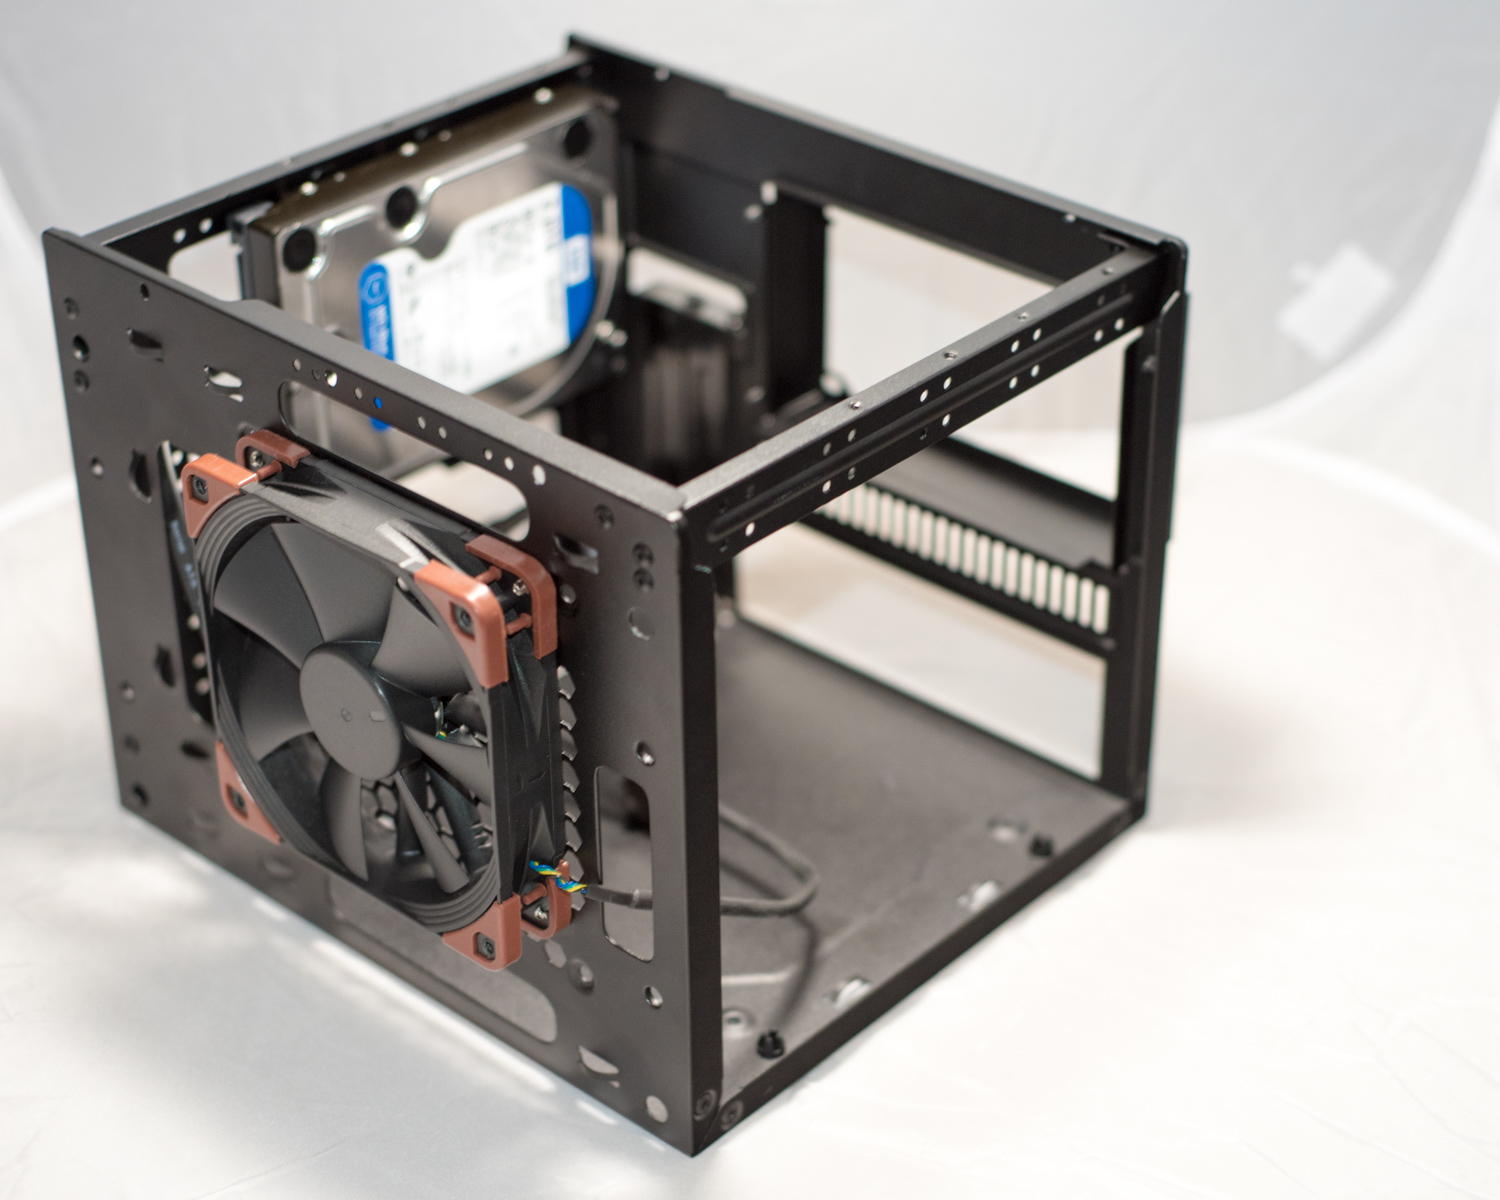
As I mentioned earlier, I was concerned with the thermals of this case so I decided to spend a bit more and go with a high quality Noctua case fan and one of the better low profile Noctua CPU coolers. As a benefit, the much maligned brown color of the Noctua fans actually complemented my case design. 😊
I chose the energy efficient EVGA SuperNOVA 650 G3 power supply mainly because I’ve had good experiences with EVGA PSUs in the past and because it is fully modular (can detach unused power cables) and was short in length so fitting it within the relatively cramped case wasn’t too difficult.
I selected the ASRock Motherboard due to positive reviews of folks on the TonyMac Hackintosh forums in case I ever wanted to turn this workstation into a Hackintosh. If you do decide to go down this road, note that the built in WiFi chip will not work with MacOS out of the box. You can, however, pick up an adapter and plug in a MacBook Air’s WiFi (BCM94360CS2) WiFi card.
This was last Fall when I purchased these parts. As of writing this post (March 2018) the RAM and graphics card I purchased are now even more exorbitant. 😭
Case Mod
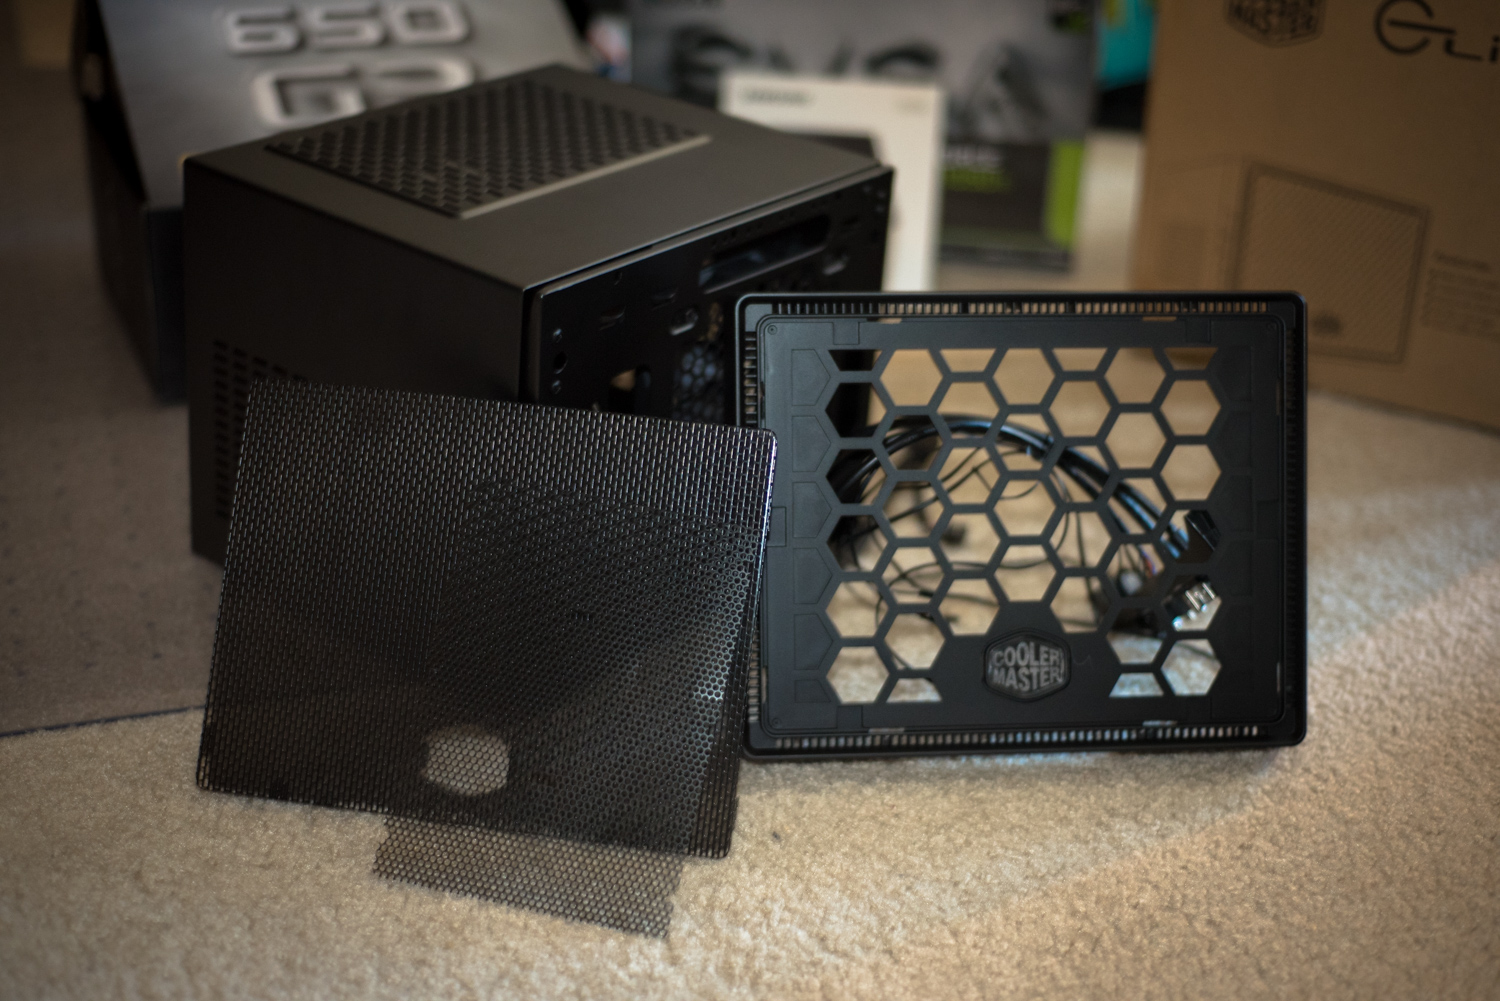
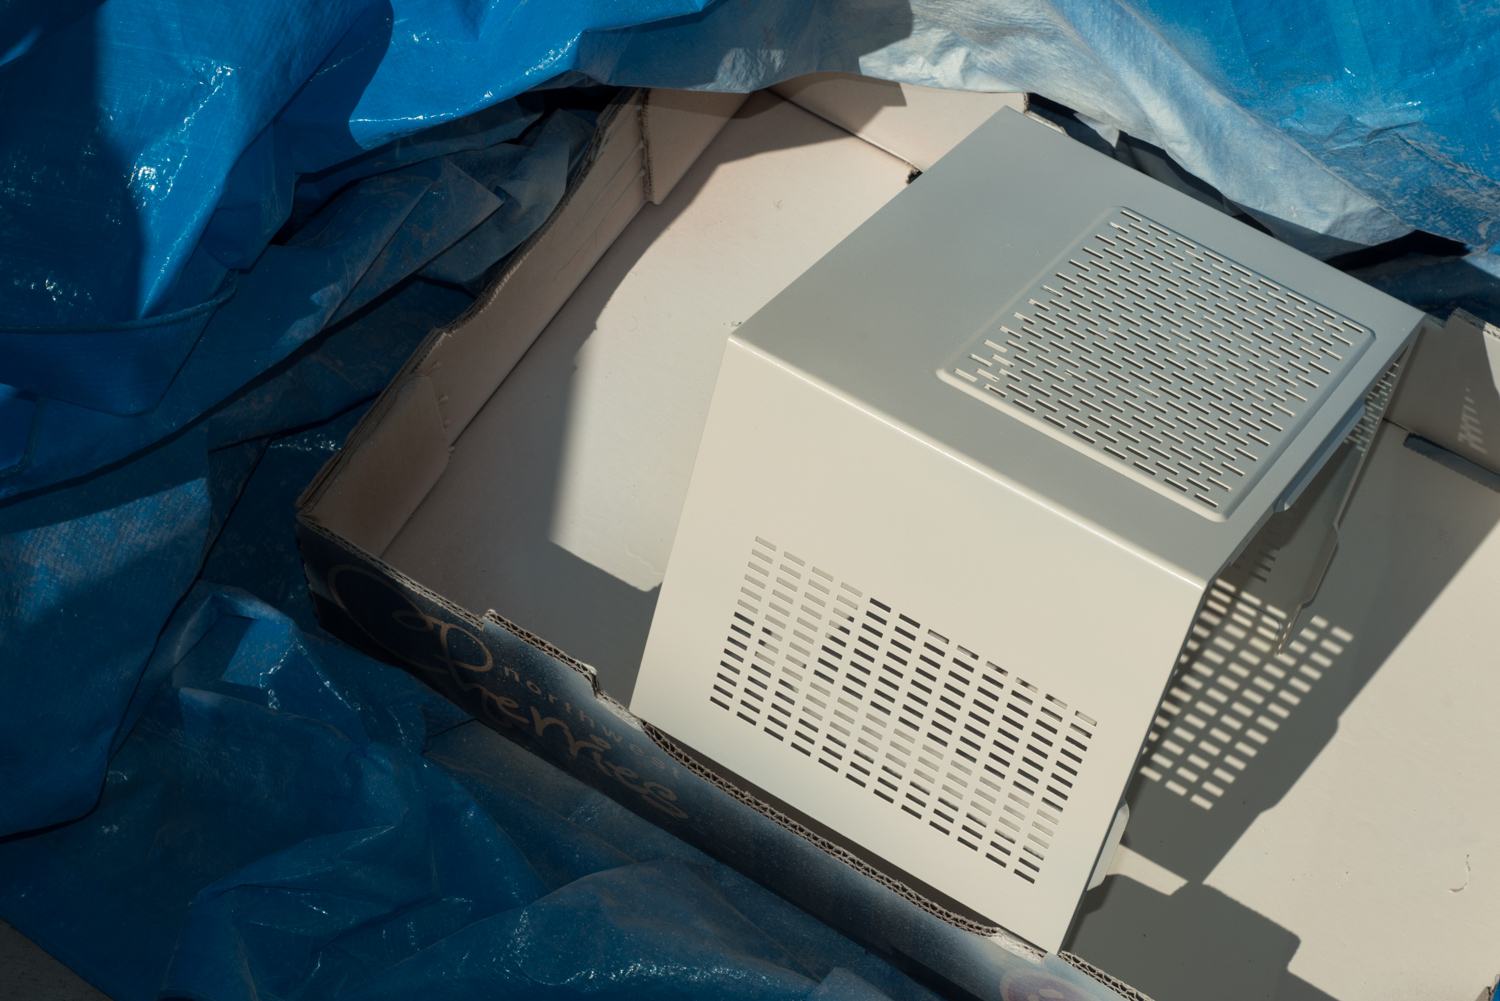
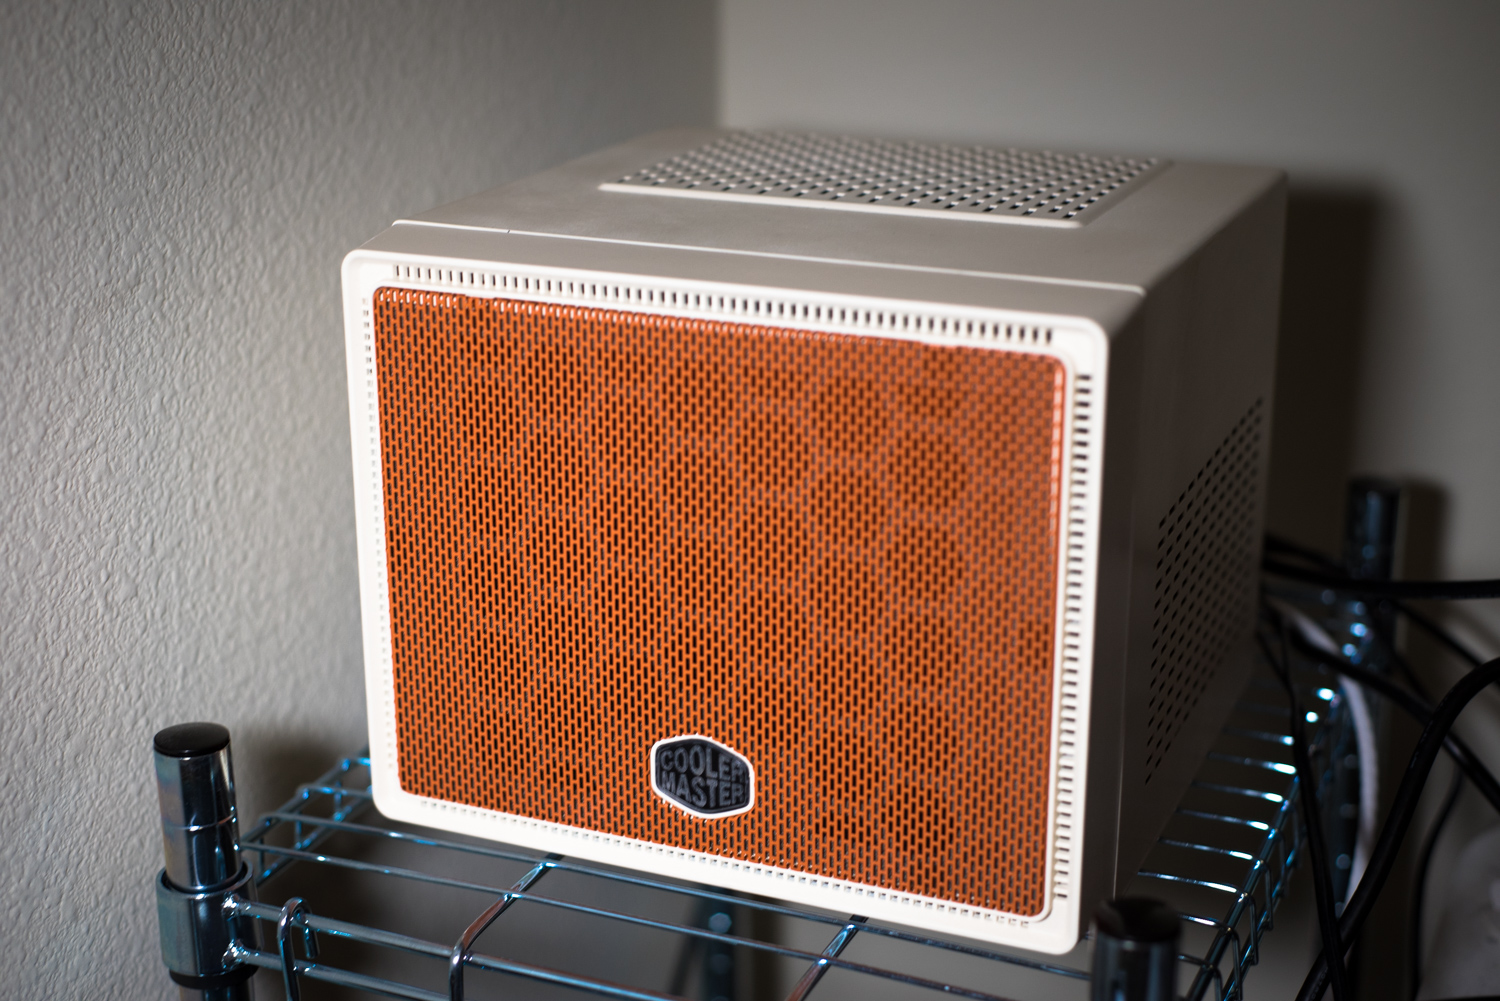
I really liked the cubic design of the Cooler Master Elite 110 and its mesh grate. I wanted to make it a little more my own, however, so I decided to head to Home Depot and get some spray paint. I wanted to go for a more retro look since the case kind of looks like an old speaker, so I went with an off-white, almost cream “Heirloom White” for the case and “Rustic Orange” for the grill.
I took apart the case and sanded down the metal portion to make it easier for the primer to adhere.
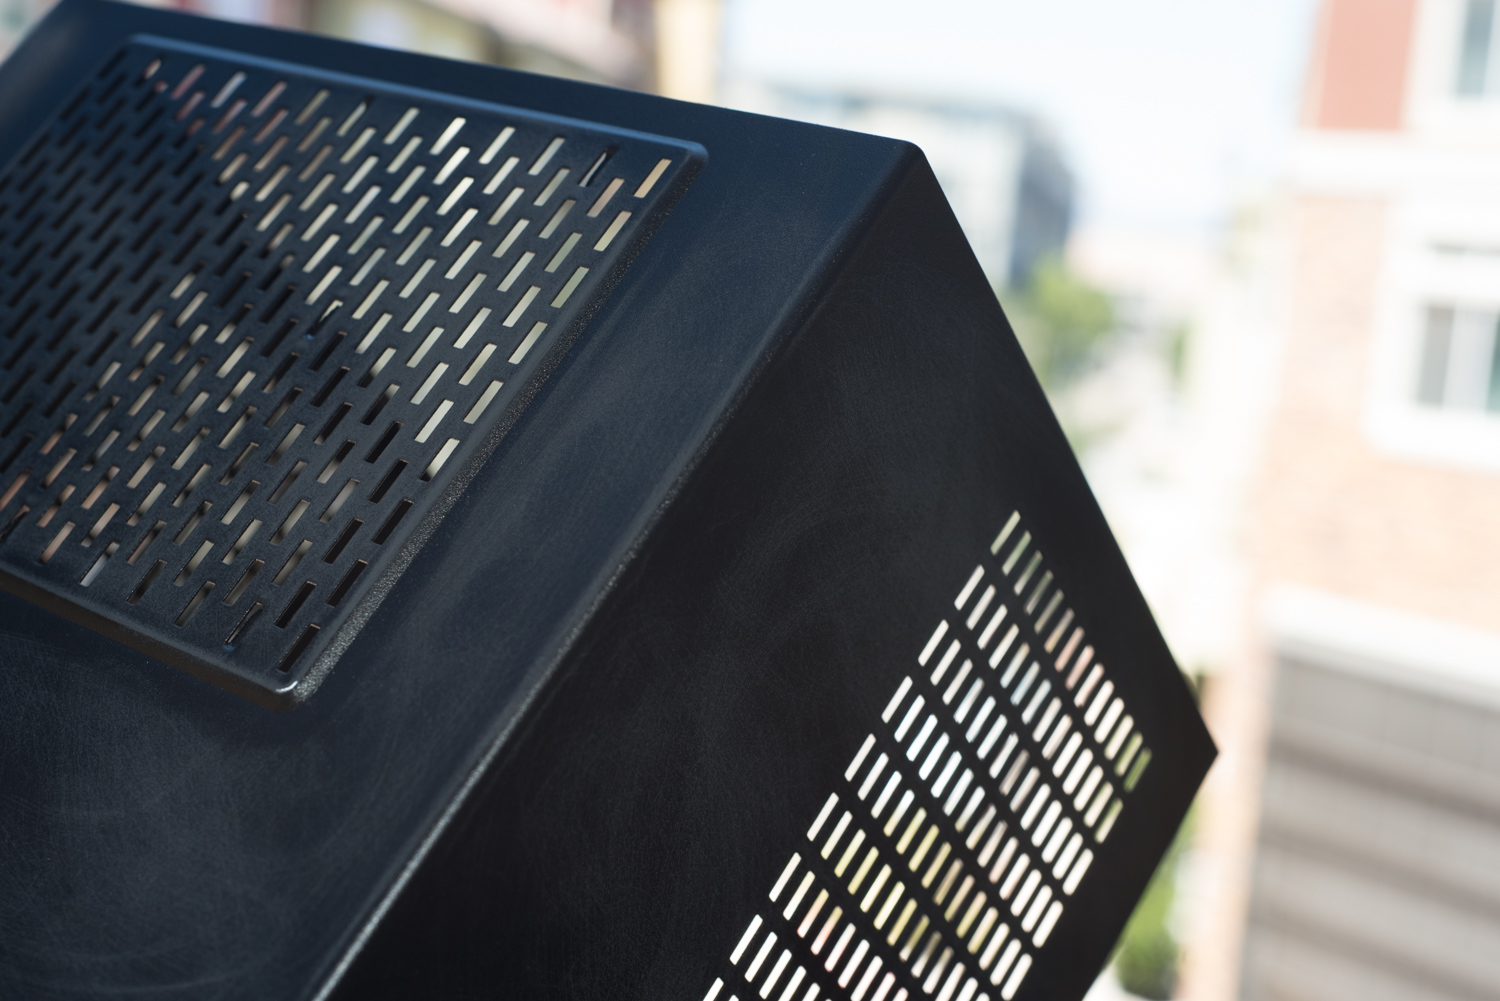
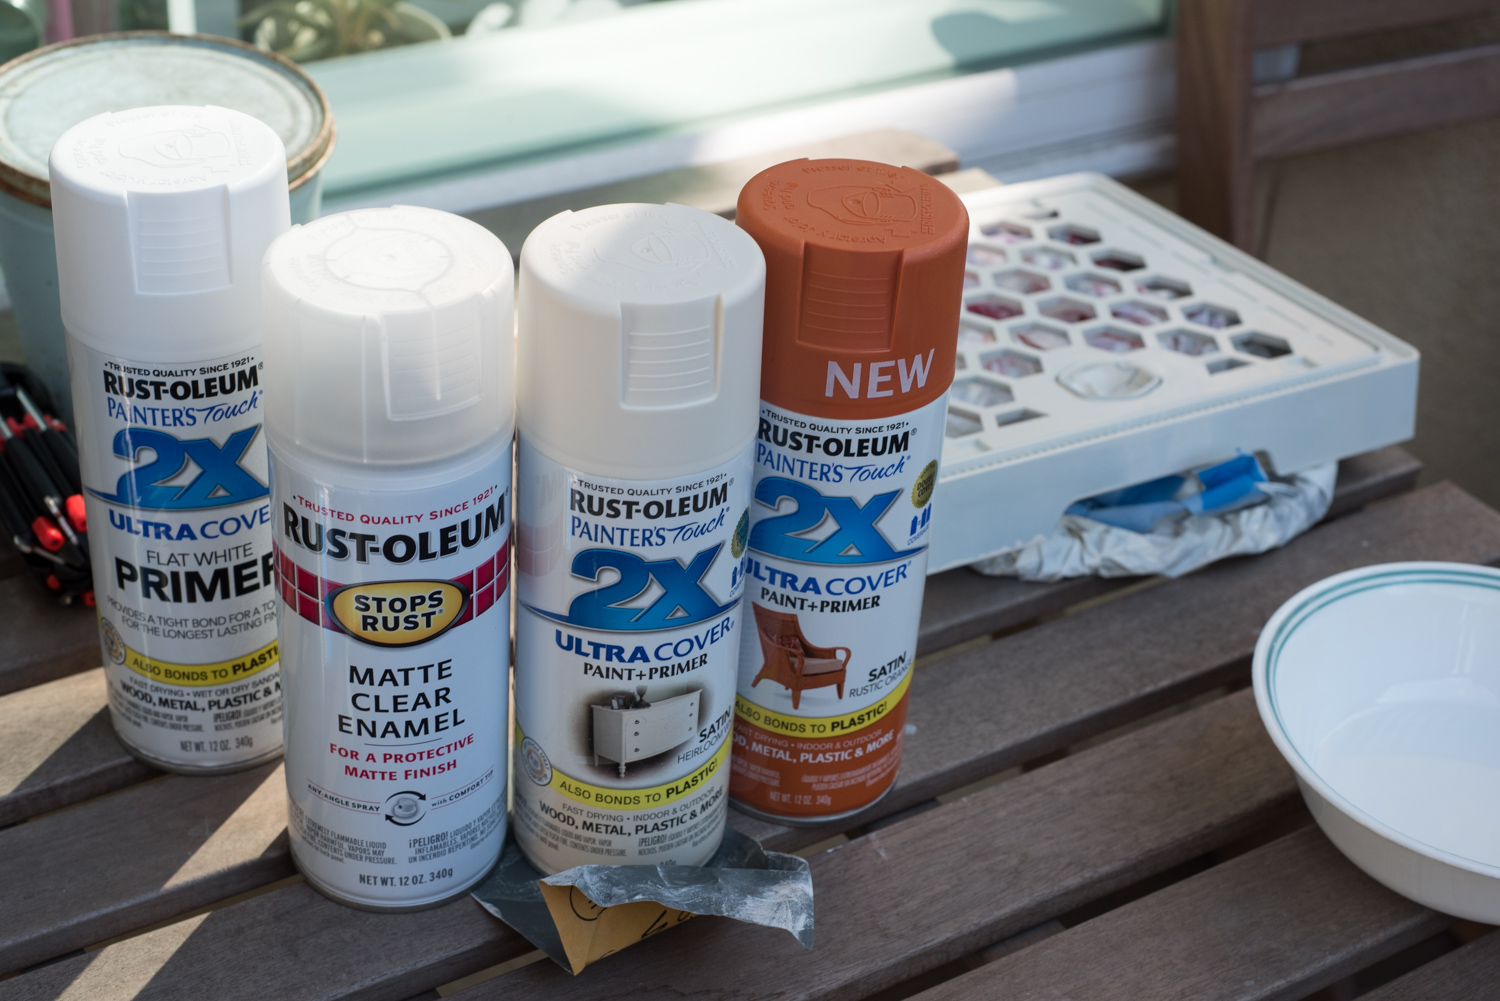
I covered pieces of the case that shouldn’t be painted (USB ports for example) with painters tape and applied the several coats of primer. After that I applied many many coats of the final paint, sanded down any imperfects, and applied more coats. At the end I applied a final coat of matte clear coat to protect it.
Build Log
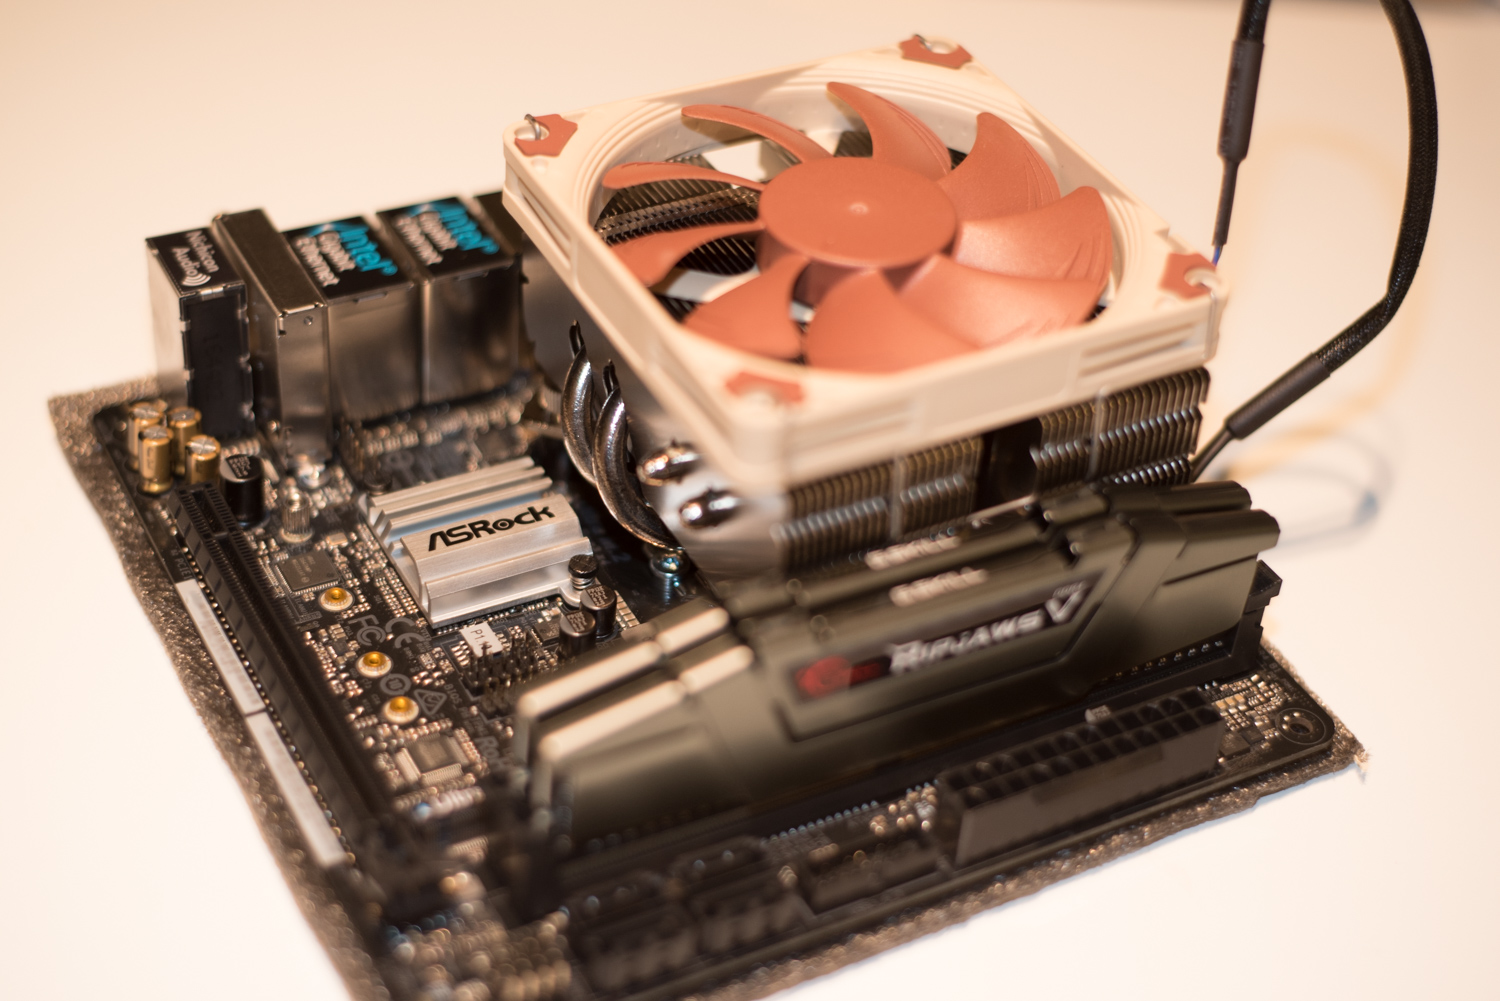
The build was pretty uneventful. I’m not going to go into too much detail, but I did take some pictures during the parts and process. I had hoped for some pictures of these parts integrated together as I was researching, so this part of the post is more intended for past me and people like him. 🙂
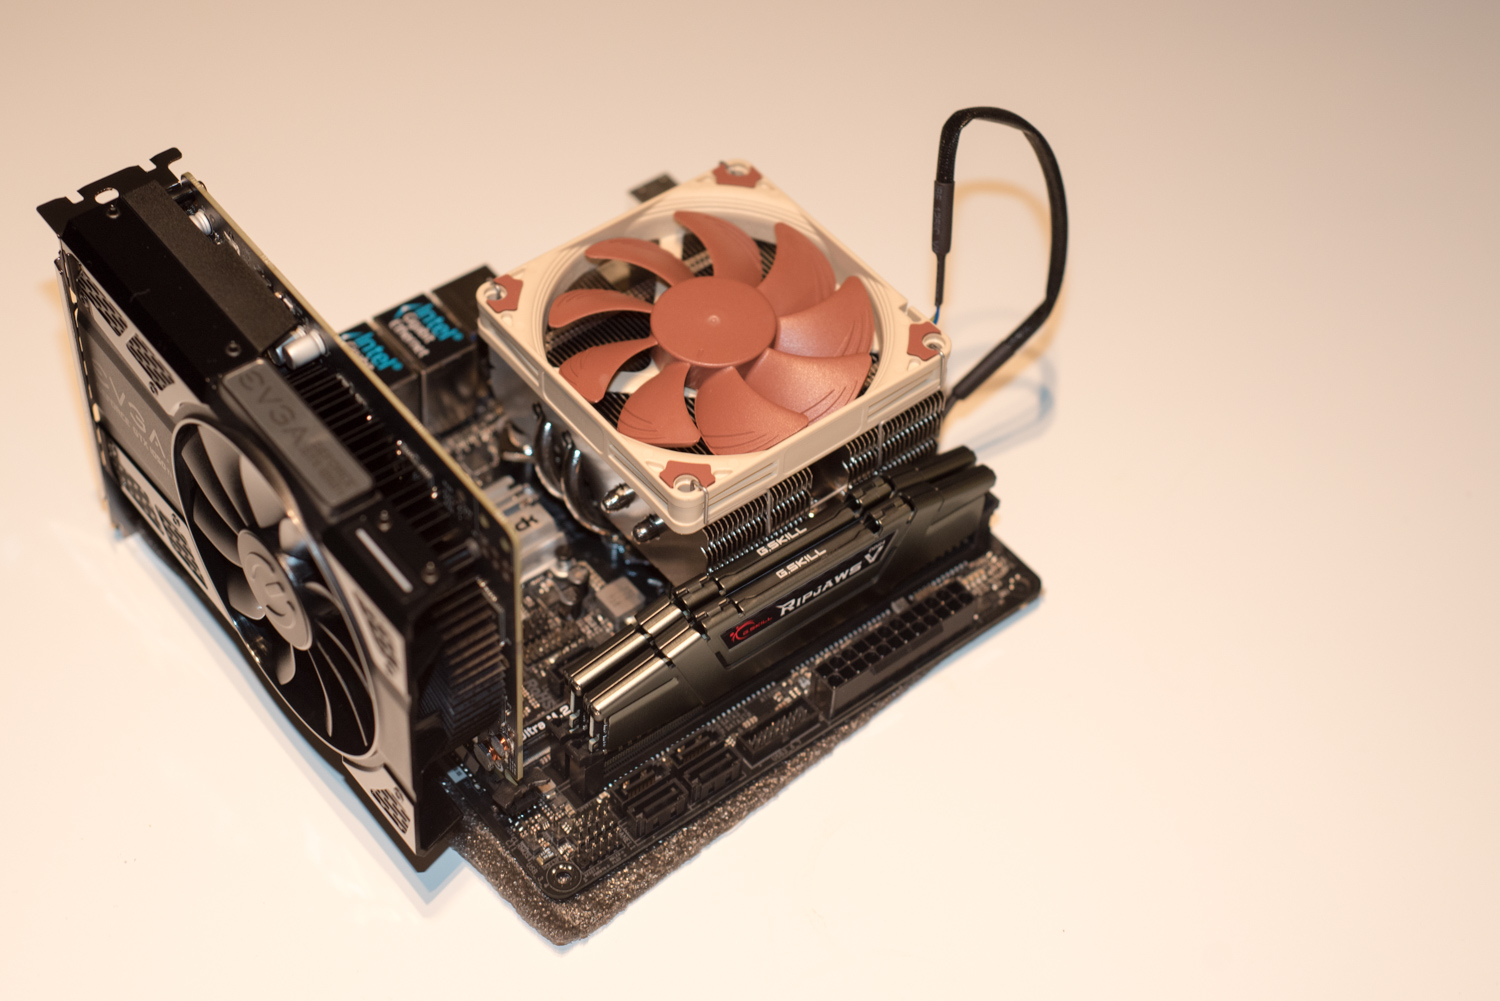
Noctua NH-L9x65 CPU Cooler
Noctua NH-L9x65 on ASRock Z270M-ITX/AC with G.SKILL Ripjaws V Ram
ASRock Z270M-ITX/AC with EVGA Geforce 1050 Ti Single-fan Graphics
Cooler Master Elite 110 with Noctua 120mm Fan and 3.5 inch HDD
White and Orange Cooler Master Elite 110 Case Mod
Remote LED Lighting in Hack Mini Linux Workstation
